Front Yard Vegetable Garden Makeover!
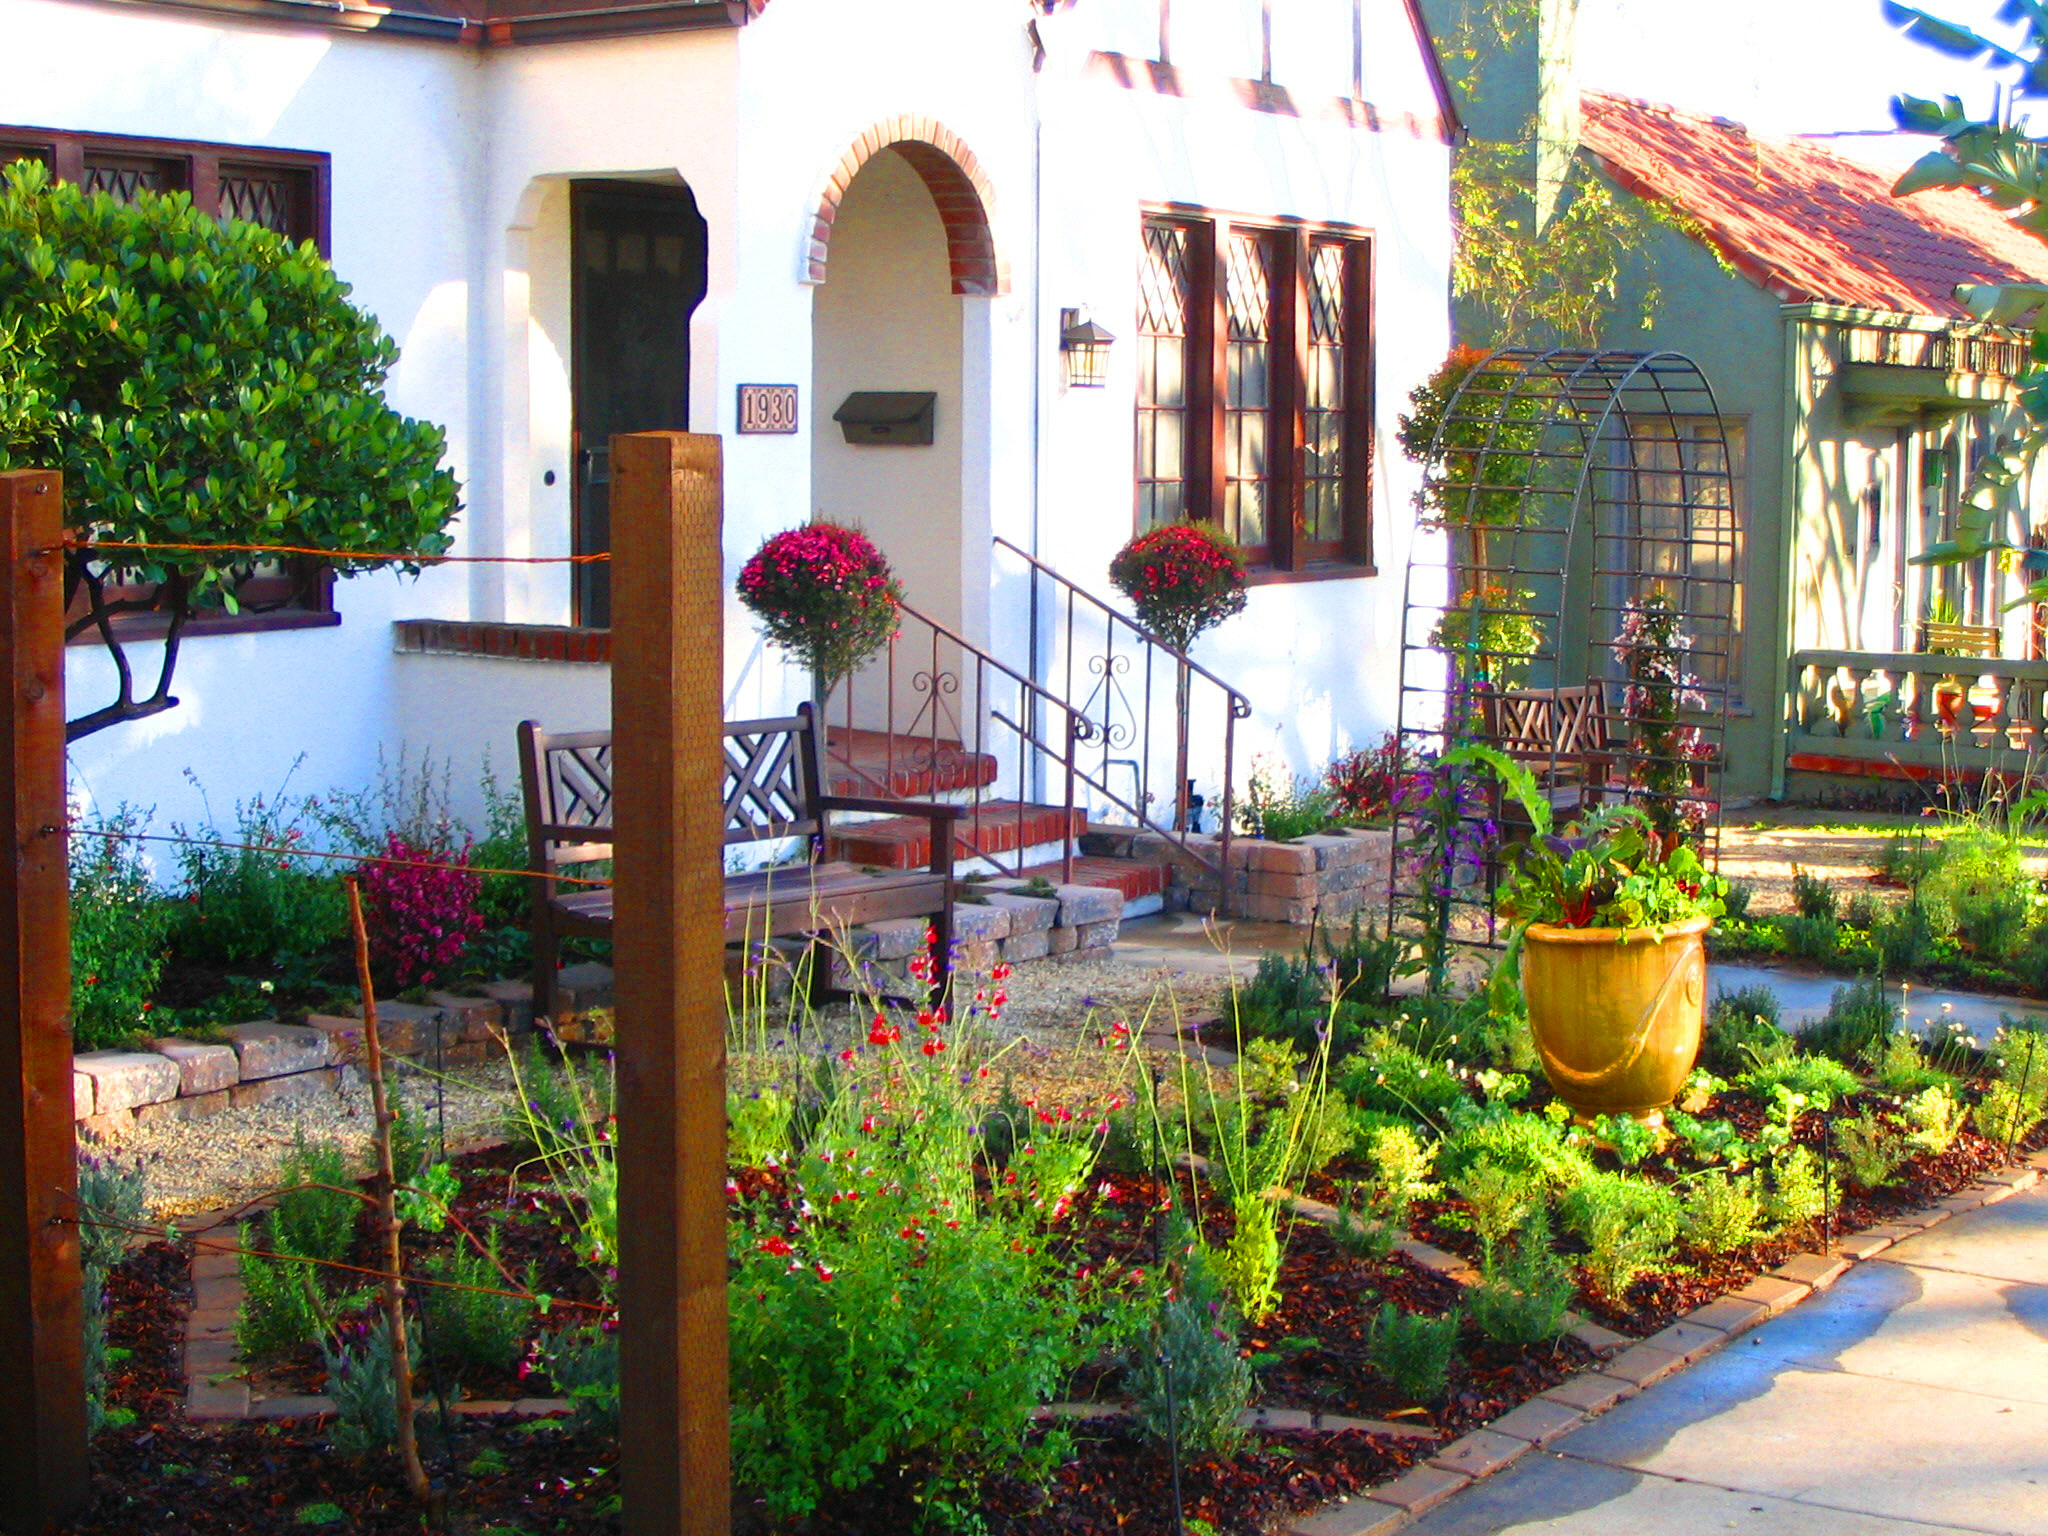
One of my favorite garden television makeovers was a front yard vegetable and herb garden that Michael Glassman and I designed for our show, "Garden Police," (Discovery Home Channel).
31 Comments / 6732 View / February 22, 2011